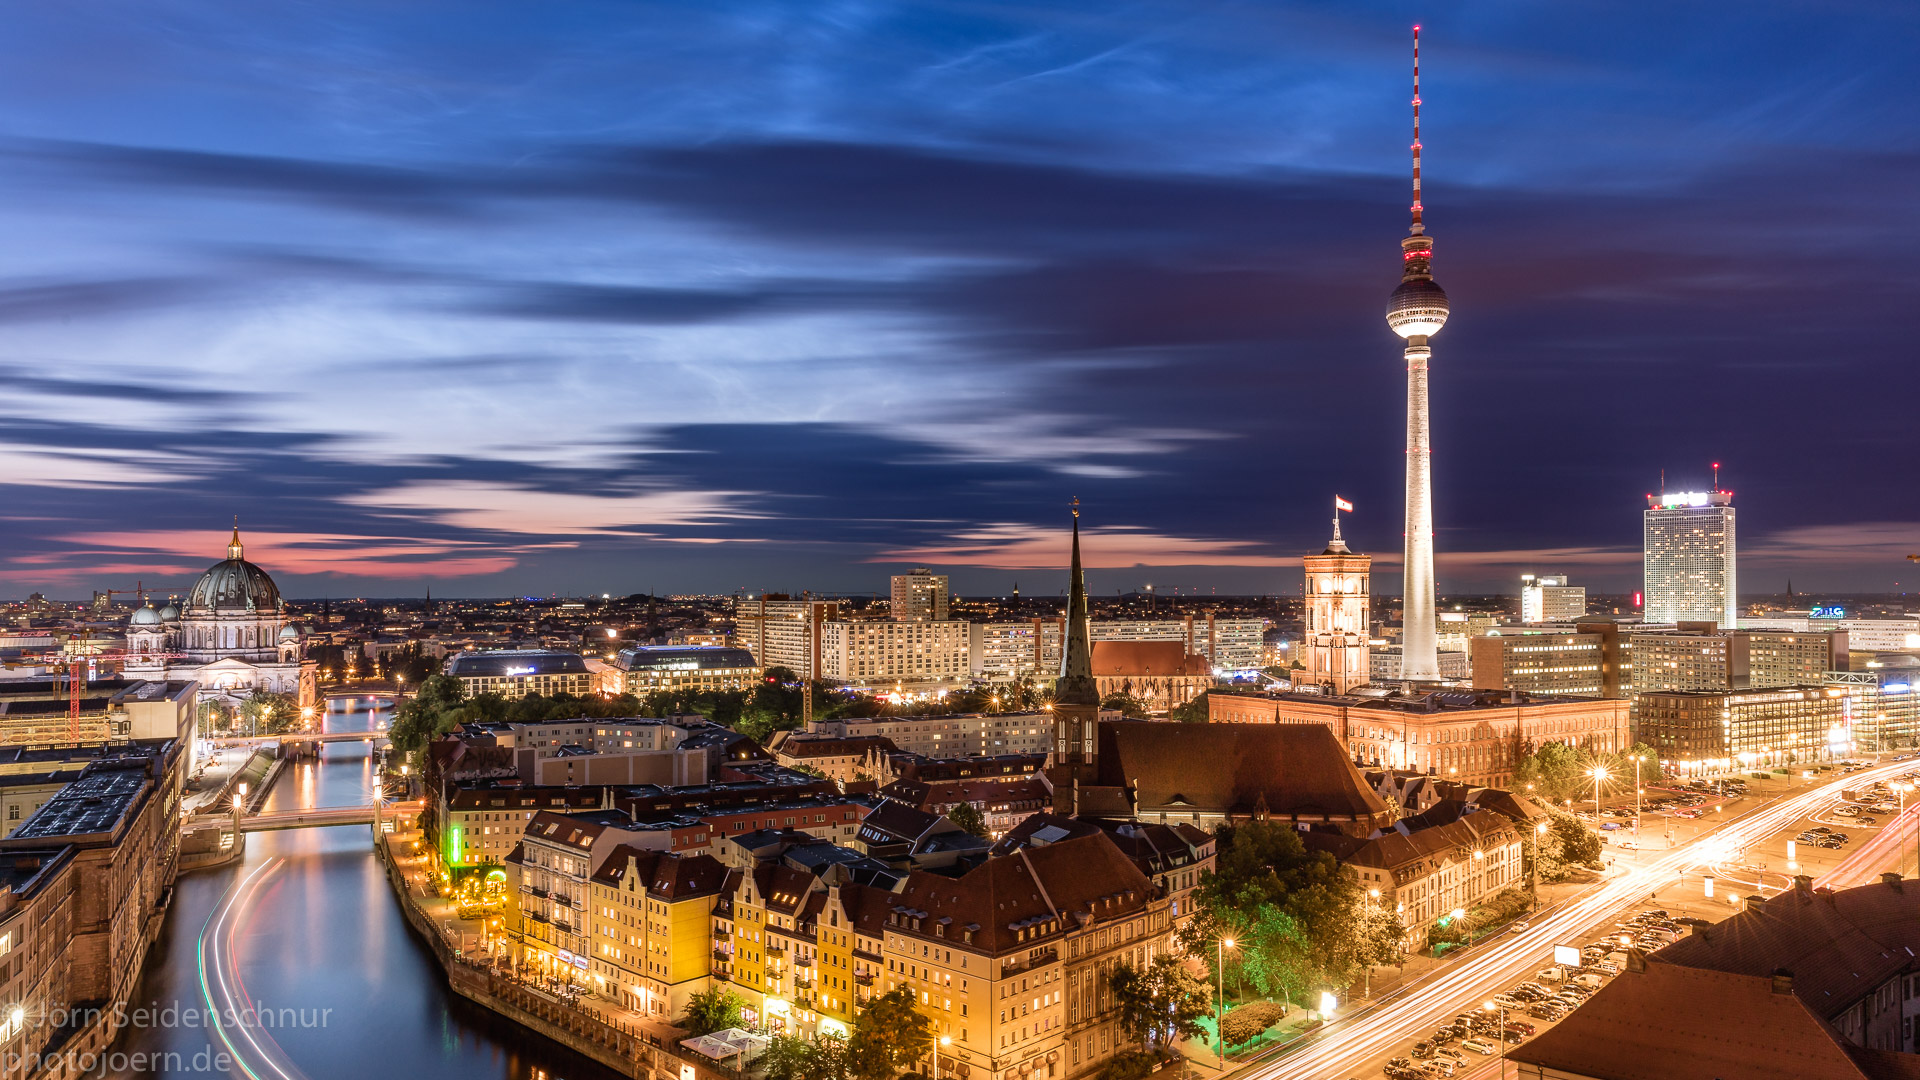
Here is my first Timelapse video that I created:
Different to the recommendations, this timelapse video was created using:
- a Canon 6D with Magic Lantern software on it, using the timed photos, one every 5 seconds and over a bit more than two hours (appr. 1300 photos),
- putting the camera into Av mode, thus fixing the Aperture and leaving it up to the camera to choose the time,
- deflickering the movie with LR timelapse 4 (trial version)
The unlicenced trial version of LR timelapse allows videos up to 400 frames, so I created three videos in LR timelapse and then joined them in iMovie.
In order to calculate the timelapse movie length, memory needed and other parameters, I can highly recommend the photo pills app.
I had a full battery and it was used about 30%. I switched off the „view pictures after shot“ function.
I used ISO 100, f7.1 in the beginning and later f4.0. If I shot sunset and blue hour again, I would go to ISO 400 or even ISO 800 in order to have shorter exposures at late blue hour.
Tipps, tricks and tutorial on timelapse movie creation
Here are the most important tipps and tricks from Serge Ramelli to create a great time lapse video:
- Always shoot in manual mode.
- Not just put your exposure to manual mode, but also use manual focus.
- Choose your frame carefully. Make it 20% larger than you are targeting you you can shift the view easier later on in post processing.
- Shoot with a tripod. A sturdy tripod.
- Have a cable remote control that offers you time lapse functionality. You will find ceap ones that absolutely do the job for around 20 USD / EUR on amazon and in photo shops.
- Check your batteries first: the battery of your camera AND the one of your remote control should be fully charged.
- Then check your memory card: you will shoot a lot of pictures. Do your math upfront, calculate well and consider whether you want to shoot in raw or jpeg only.
- Shoot with an exposure time that is at least half the time of every.
- As always: be at your location early, at least 15 minutes before your planned start, but better 30 minutes before.
- to be continued…
Below you will find video tutorials for Lightroom and LR timelapse that I highly recommend.
Recommended Video tutorials
Serge Ramelli has postet a 4 times around 15 minutes comprehensive course on time lapse videos and post processing in Lightroom and the LR timelapse plugin.
Part 1
Part 2
Part 3
Part 4
This video on timelapse shooting, processing and retouching is especially valuable.
If you are asking yourself: how can I work on changing light conditions, e.g. dimmering light during a sunset:
First: During the shooting, do a few (very few!) changes in your exposure settings to adopt to the increase or decrease of light. E.g. during a sunset, increase the exposure time and quadrouple it, wait another 10 minutes until your photos again are pretty dark and then again quadrouple the exposure time
Second: adjust the exposure in lightroom to equal the two neighbouring frames (in Lightroom mark the both photos before and after the change in exposure and then: settings -> match total exposure; see minute 13 in this video):
Not motivated enough to venture into timelapse photography or movie production? Watch these videos from Steffen Wegner, author of timelapse and photographer from Germany:
http://lrtimelapse.com/africanskies2/